Manicure Monday | NAIL TUTORIAL #Pretty In Pink (+English version)
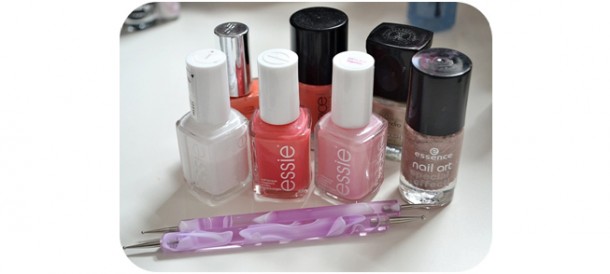
Ihr braucht/You’ll need
1x weißen Lack / 1x white nailpolish (Essie Blanc)
1x rosa Lack /1x light pink nailpolish (Essie we’re in it together)
Verschiedene Pinktöne / a selection of pink nail polishes (hence the name;-)
1x goldenen Lack / 1x golden polish
1x Glitterlack / 1x Glitter Polish
1x Dotting Tool oder das Ende eines Pinsels /a dotting tool or the end of a brush
1x Manikürepinsel (Meiner ist von Essence, 1,59€) oder alternativ einen Zahnstocher / an ultrafine manicure liner or a toothpick as an alternative
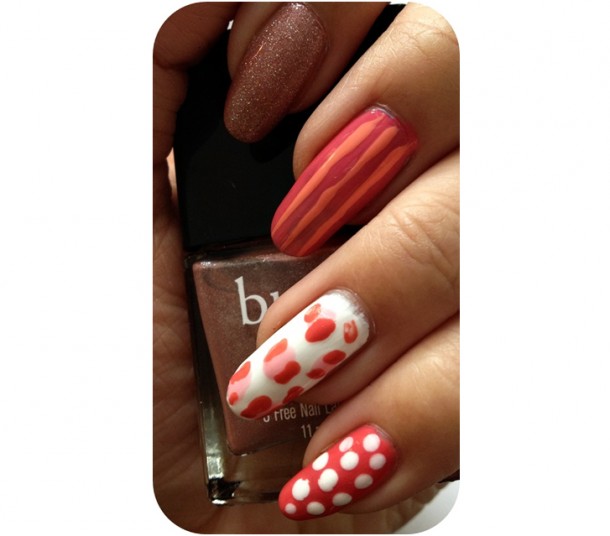
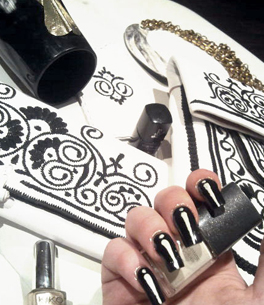
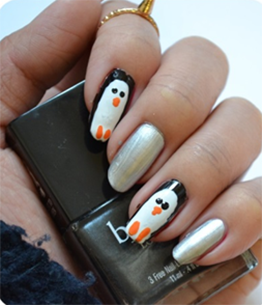
Das ist der fertige Look. Um diesen Look herzustellen müsst ihr lediglich Folgendes machen:
That’s pretty much the finished look, to achieve this look you simply have to follow the following steps:
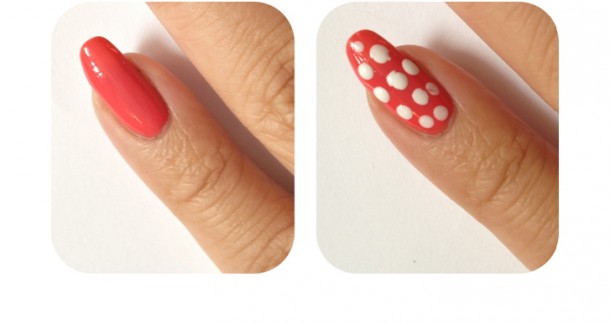
Step 1 – The Pinky
Fangt an mit einem pinken Basiston und mit Hilfe eines Dotting Tools oder dem Ende eines Pinsels und einem weißen Lack kreiert ihr kleine Punkte auf eurem kleinen Finger.
Start off with a pink base polish and with the aid of a dotting tool or alternatively the end of a brush and a white polish start creating little polka dots on your pinkie.
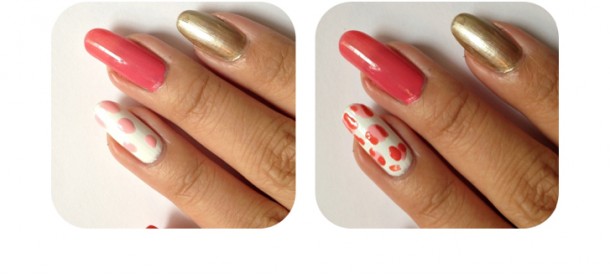
Step 2 – Ringfinger
Auf den Ringfinger kommt das Weiß wieder ins Spiel, dieses Mal als Basislack. Mit dem gleichen Dotting Tool verteilt ihr verschieden große Punkte in einem rosafarbenen Lack auf dem Ringfinger.
Danach nehmt ihr das Dotting Tool und zeichnet mit einem dunkleren Lack C-förmige Umrandungen um die Punkte und schon habt ihr einen Leoparden Print.
Next in line is the ring finger, use the white polish as a base coat and sprinkle some light pink dots on the nail then use a dotting tool to creat c-shaped frames around the dots with a slightly darker pink tone.
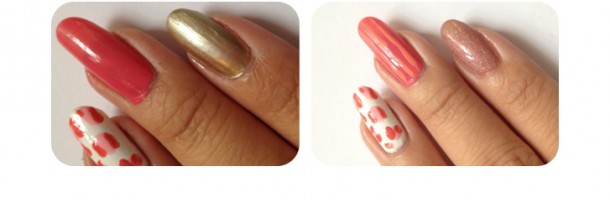
Step 3
Der dritte Teil ist der einfachste. Nehmt einen pinken Lack und lackiert damit euren Mittelfinger, danach braucht ihr einen Striper oder einen Zahnstocher. Damit kreiert ihr dünne, senkrechte Linien auf eurem Mittelfinger.
Der Zeigefinger wird gold lackiert und anschließend mit einem Glitternagellack abgerundet.
The third design is the simplest one. Just take a darker pink tone and create a base on your middle finger. Use a striper or a toothpick and a lighter shade and draw vertical lines onto your nail.
The pointer is going to be covered with a golden and later on glittery pink shade.
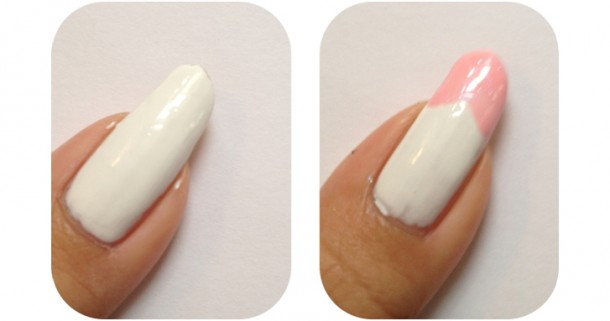
Step 4
Und zu guter Letzt, der Daumen.
Der Daumen wird sehr einfach gehalten, nehmt den weißen Lack als Basiston und einen rosa Lack als Akzent.
Den rosa Lack müsst ihr lediglich diagonal von der Seite über den Nagel streifen, das macht ihr von beiden Seiten und voilà, schon seid ihr fertig!
Bis zum nächsten Manicure Monday!
And last but not least, the thumb.
Paint your thumb white.
Then use a light pink shade and swipe a fat line across your nail from both sides.
And that it is for today’s Manicure!
Thank you for your time and see you next Monday!
Eure Lana