Bodymodification – How to: Ohren dehnen Teil 1 (+English version)
(Please, scroll down for the English version)
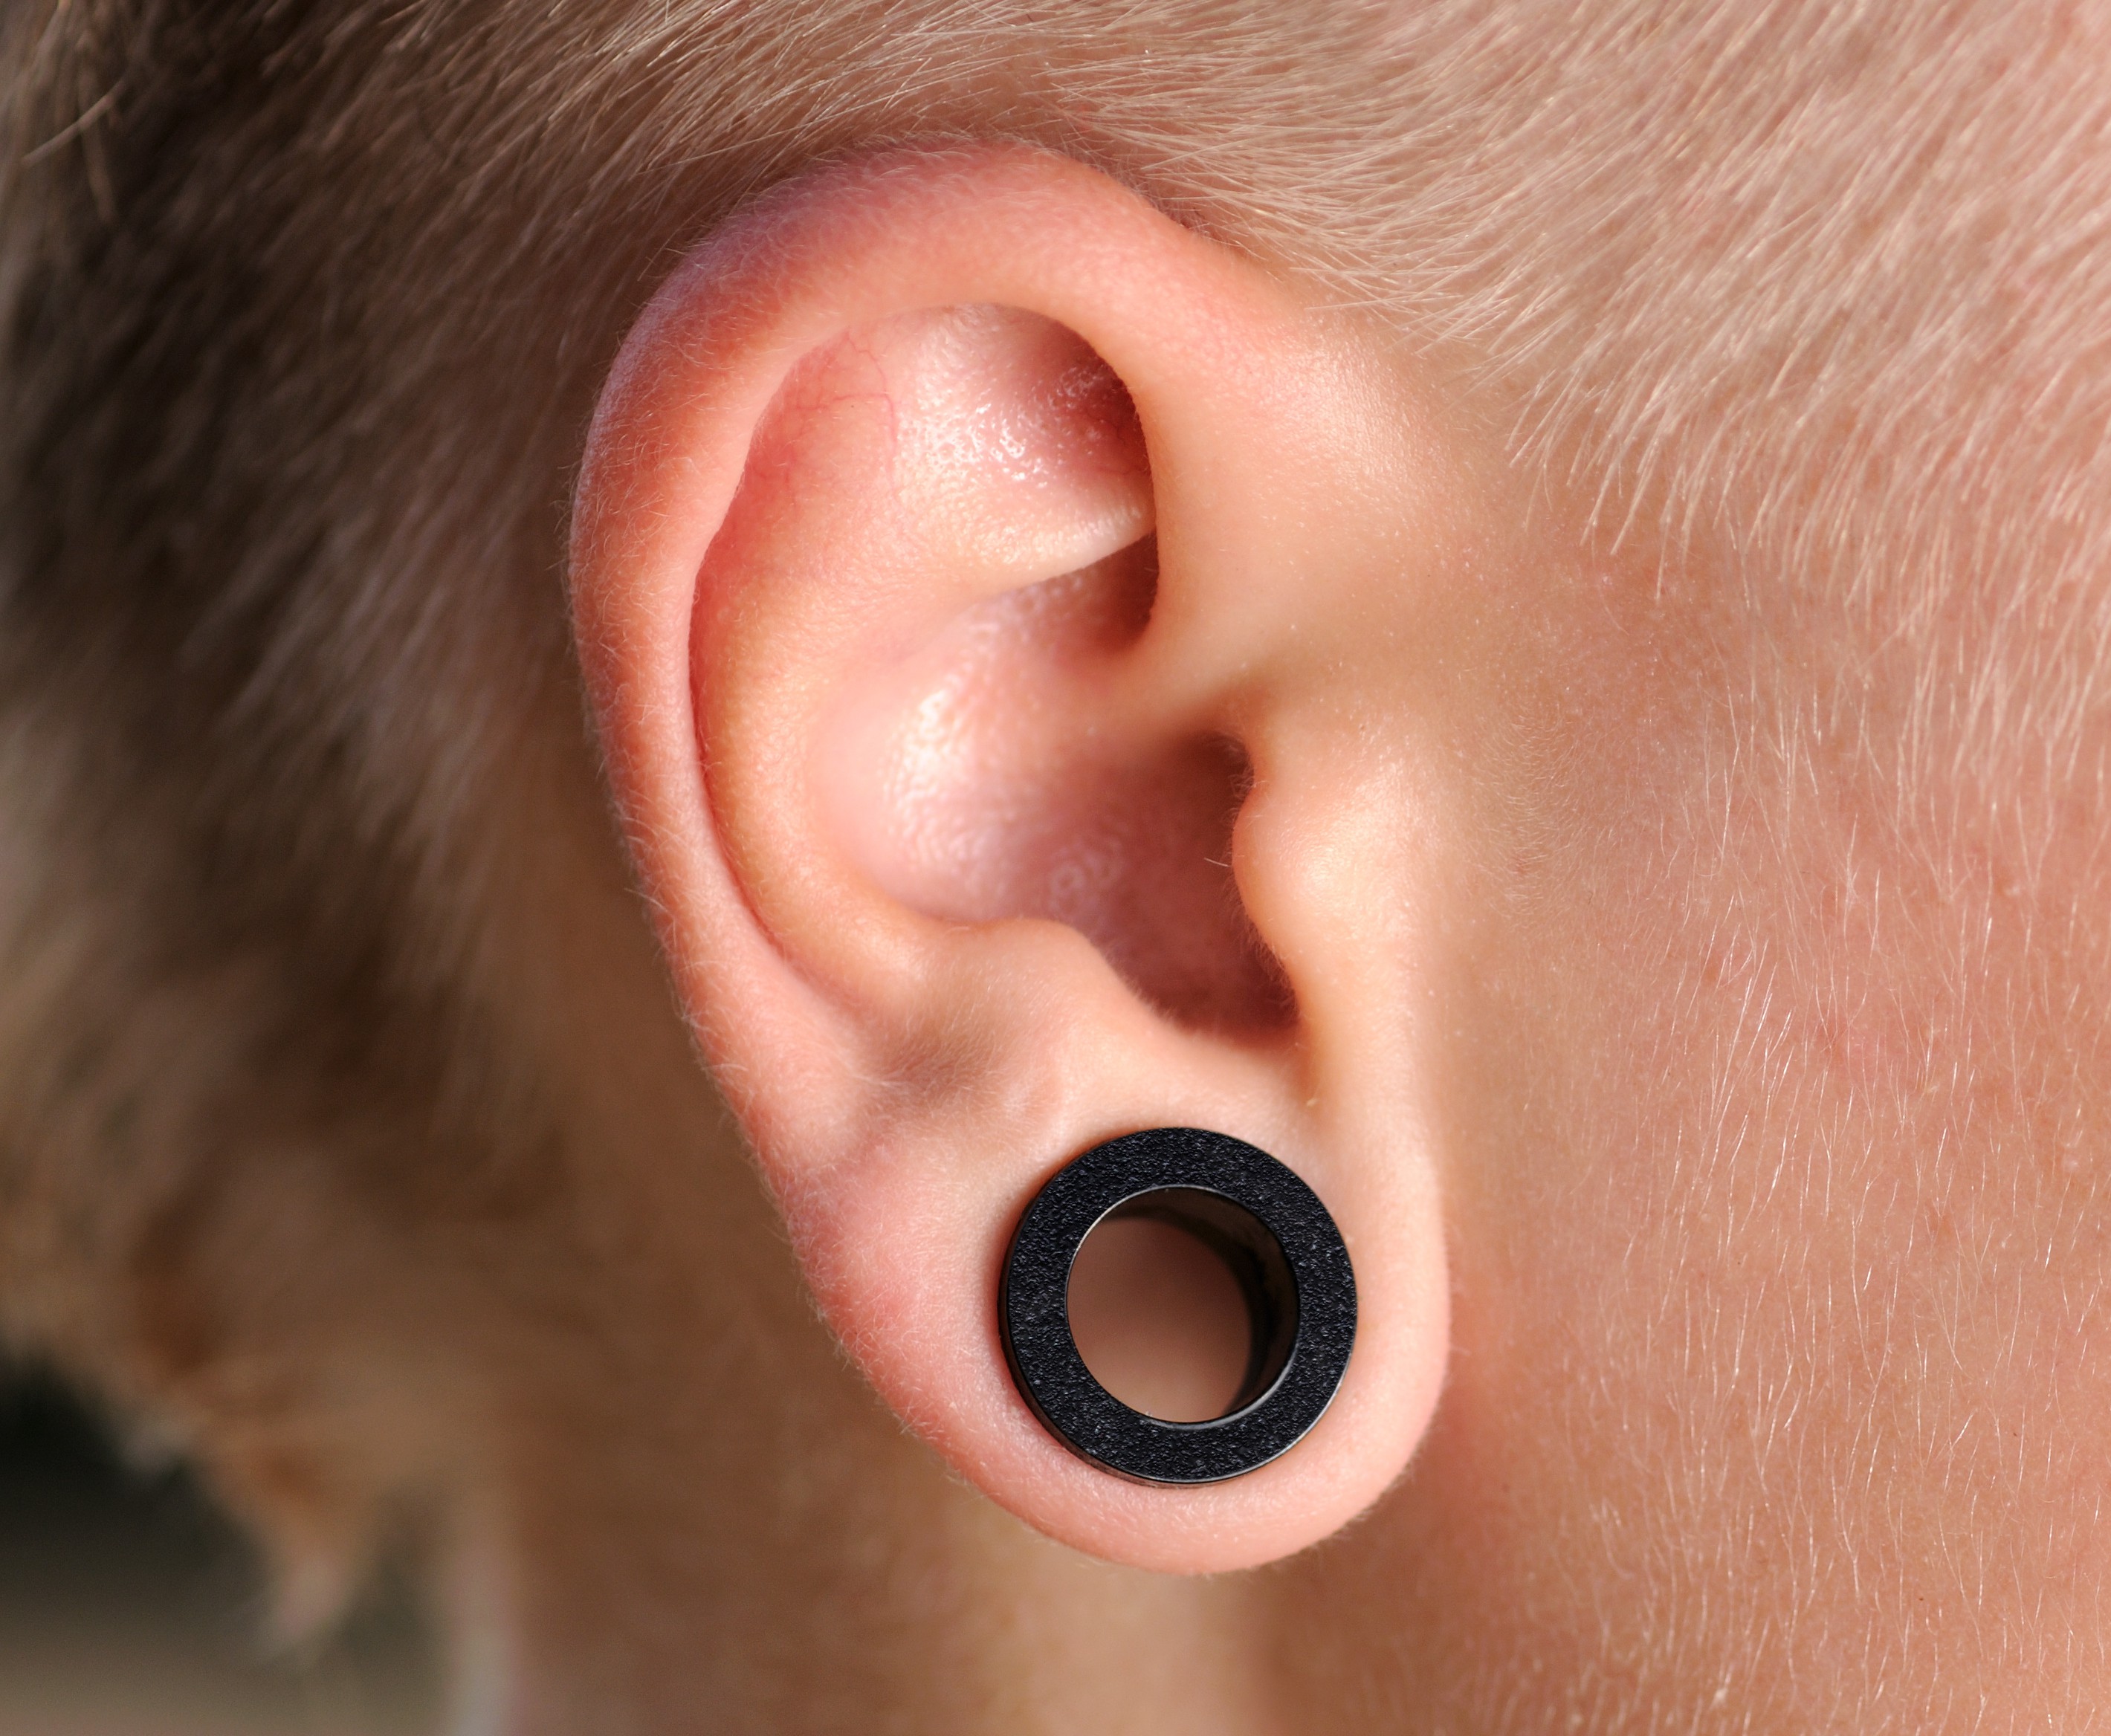
Es ist schon lange nichts Ungewöhnliches mehr, mit gedehnten Ohrläppchen rumzulaufen, und der Trend neigt zu „je-größer-desto-besser“. Aber wie startet man das Dehnen eigentlich und auf was muss man achten? Die Tipps, die ich euch dazu geben kann, entstanden aus vier Jahren Erfahrung mit gedehnten Ohrläppchen. Allerdings bin ich keine gelernte Piercerin und kann nicht garantieren, dass mein Vorgang zu 100% korrekt war. Des Weiteren dehnt ihr eure Ohren auf eigene Verantwortung und müsst damit rechen, dass eure Ohrlöcher später nicht mehr komplett zuwachsen.
Also gut. Zunächst einmal braucht ihr logischerweise Ohrlöcher. Diese könnt ich euch normalerweise beim Juwelier schießen lassen. Es wird aber geraten, sich die Löcher beim Piercer stechen zu lassen, da durch das Schießen das Gewebe des Ohrläppchens geschädigt werden kann. Die Ohrlöcher sollten mindestens 6-8 Wochen abheilen, bis ihr mit dem Dehnen beginnen könnt. Jetzt habt ihr mehrere Möglichkeiten zu entscheiden, welche Art Schmuck ihr zum Dehnen benutzen wollt. Es gibt Dehnstäbe, -sicheln und –schnecken. Ich empfehle euch allerdings Dehnstäbe mit je zwei Fixiergummis zu kaufen. Am Besten sind sie aus Acryl. Die sind komfortabler als Chirurgenstahl, vor allem im Winter. Zum Dehnen solltet ihr wirklich mit der aller kleinsten Größe anfangen, die ihr als Stab finden könnt. Das dürften an die 1,2 mm sein. Es sieht zwar echt mickrig aus, aber vertraut mir. Das Dehnen wird auch bei nur 1,2mm schon schmerzhaft genug. Der nächste Schritt sollte 1,5mm sein. Die könnt ihr erst nach mindestens drei Wochen einsetzen. Ich weiß, solange zu warten ist echt fürchterlich. Aber vor allem in der Anfangszeit ist es wirklich sehr wichtig, nicht zu schnell zu handeln.
Solltet ihr den Dehnstab nicht sofort durch das Ohrloch bekommen, was absolut normal ist, könnt ihr etwas Vaseline als „Gleitmittel“ benutzen. Und am allerwichtigsten: Das Ohr immer sauber halten und zweimal täglich desinfizieren!
Mehr zum Thema gibt’s nächsten Mittwoch!
Bildquelle: http://planbar-magazin.de/wp-content/uploads/2012/02/tunnel-e1329391434509.jpg
English version
It’s not an unusual thing anymore to walk around with stretched ears and the trend seems to be the-bigger-the-better. But how to start stretching and what to notice? The tips I can give you about that are based on my experience gained in four years of having stretched ears. But please notice that I am not an apprenticed piercer and I cannot assure you that my process of stretching ears was 100% correctly practiced. Also you are stretching your ears on your own responsibility. Please mind that your gauges might not close up completely ever again .
Alright so first you need pierced ears of course. You can get that done at a jeweler’s. But I’ve been told that it’s better to get your ears pierced in a piercing shop to avoid tissue damages that can be caused by gun piercing. You should give your ears at least 6 to 8 weeks to heal properly until you start stretching. So now you have several types of jewelry you can chose from. There are rods, claws and swirls. But I would recommend the acrylic rods. Steal rods are not as comfortable, especially in winter. You should start stretching with the very smallest size you can find. 1,2 mm should do it. I know it looks tiny but trust me the stretching will be awfully painful even at 1,2 mm. Next step should be 1,5 mm. But you can only insert them after at least three weeks of healing. I know, waiting sucks but it is really important not to stretch too fast, especially in the beginning.
In case you can’t get the rod through your ears on the first try, just try it again with a little vaseline on it. And the most important thing about stretching ears: Keep your ears very clean and sanitize them twice a day!
You can read more about that theme next Tuesday.
Image Copyright: http://planbar-magazin.de/wp-content/uploads/2012/02/tunnel-e1329391434509.jpg


